macOS App Development Guide (How It Differs From iOS)
A practical guide to building Mac apps in 2026: Xcode and SwiftUI vs AppKit, how macOS differs from iOS, notarization and distribution options, plus a getting-started roadmap and real costs.
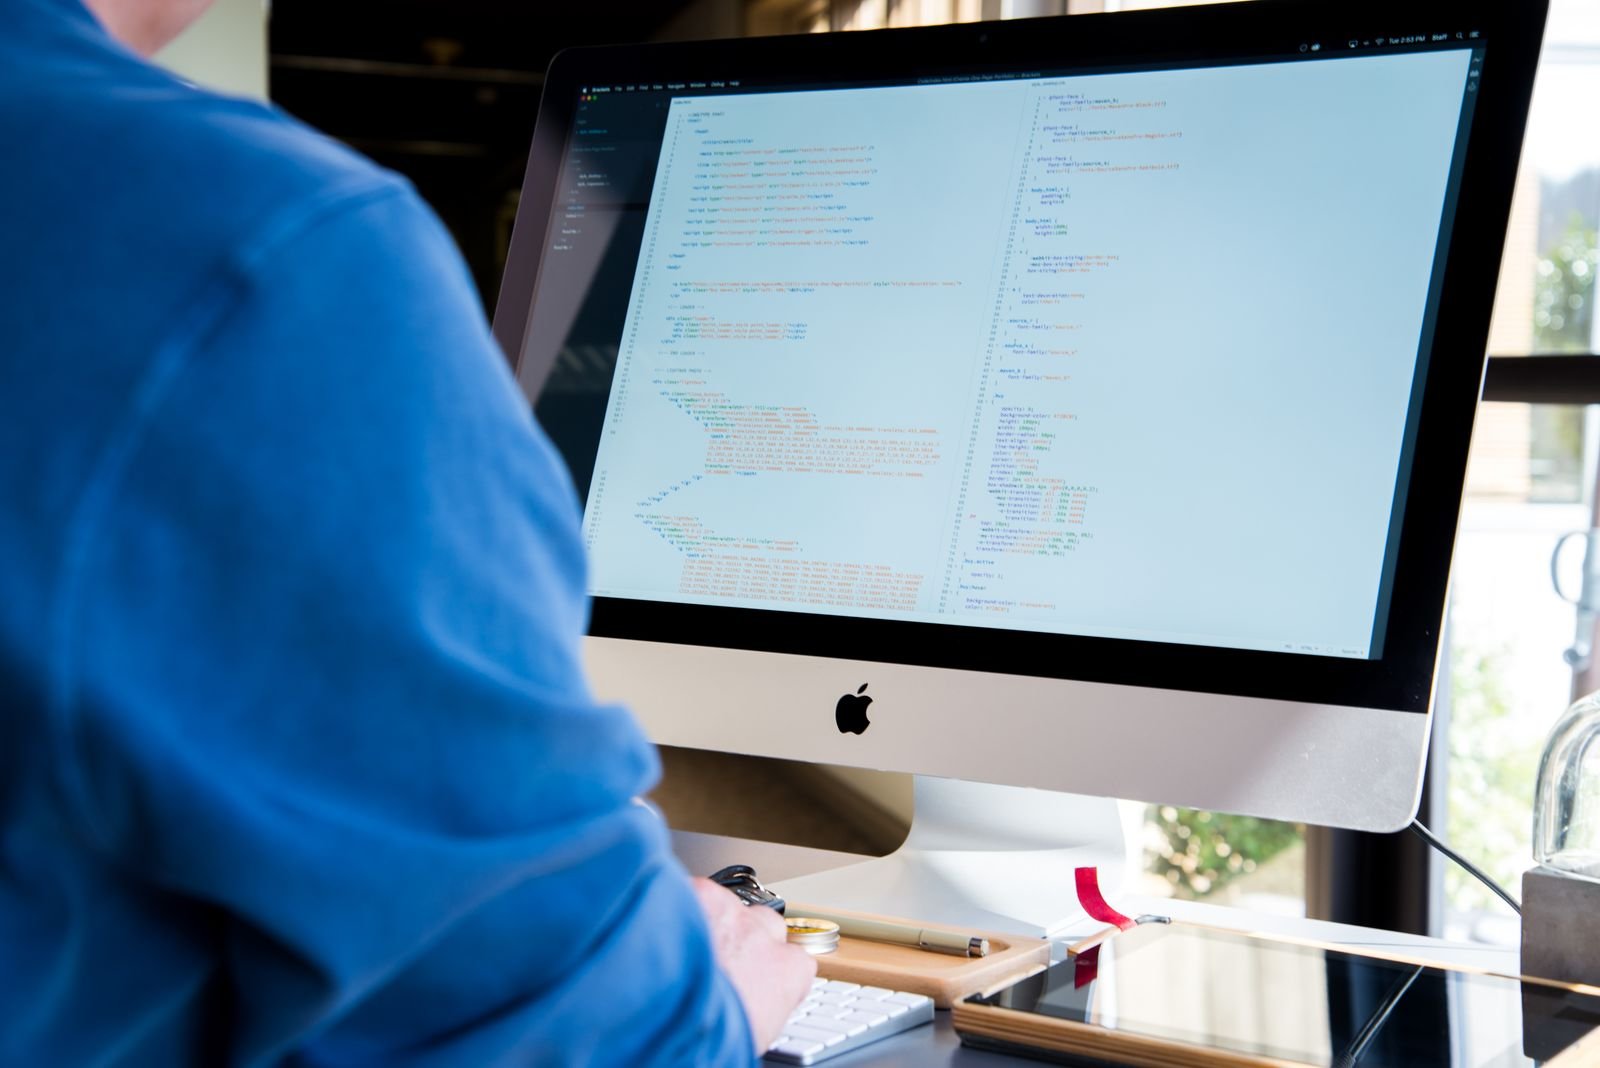
Everybody writes about iOS development. Mac development? It’s the quiet corner of Apple’s ecosystem, which is a shame, because building for macOS is arguably more fun. You get real windows, a menu bar, keyboard shortcuts, and users who actually pay for software. And in 2026, with macOS Tahoe 26 sharing the same Liquid Glass design language and most of the same frameworks as iOS 26, the jump from iPhone development to Mac development has never been smaller.
This guide covers the whole picture: the toolchain, SwiftUI vs AppKit, all the ways macOS differs from iOS (and there are more than you’d think), how distribution and notarization work, and a realistic roadmap for shipping your first Mac app. We build and test on Apple Silicon Macs daily here at MacLaunch, so this comes from actually shipping, not just reading docs.
The Toolchain: What You Need
The good news is that if you’ve touched iOS development at all, you already have everything:
- A Mac. Any Apple Silicon machine works. Even a base M1 Air handles small and mid-size projects fine; an M4 or M5 machine just compiles faster. You’ll want 16GB of RAM if you can get it, since Xcode plus a simulator plus a browser eats memory for breakfast.
- Xcode 26. Free from the Mac App Store. It’s your editor, interface builder, debugger, profiler and packaging tool in one. Yes, it’s a big download (plan for 40GB+ of disk space once everything’s installed).
- Swift. The language for all modern Apple development. Objective-C still lurks in older codebases, but nobody starts a new Mac app in it anymore.
- SwiftUI and/or AppKit. Your UI framework choice, which deserves its own section.
- An Apple Developer account, eventually. Free to build and run locally. The $99/year Developer Program is only needed when you want to distribute (App Store or notarized direct downloads).
If you’re comparing the wider ecosystem of editors, dependency managers and CI services, our roundup of the 10 best app development tools covers what’s worth adding around Xcode.
SwiftUI vs AppKit: Which One in 2026?
AppKit is the original macOS UI framework, older than Mac OS X itself. SwiftUI is the modern declarative framework that runs on every Apple platform. Here’s the honest state of things in 2026:
- Start with SwiftUI. For a new app it’s the right default. You write far less code, you get Liquid Glass styling, dark mode and accessibility largely for free, and Apple’s own new apps are increasingly built with it. Window management, menu bar integration and Settings windows all have clean SwiftUI APIs now.
- AppKit still matters for the hard stuff. Huge tables with thousands of rows, custom text editing, fine-grained drag and drop, unusual window behavior. AppKit has decades of Mac-specific polish that SwiftUI hasn’t fully matched.
- You don’t have to choose. This is the part beginners miss. NSViewRepresentable lets you drop AppKit views into SwiftUI, and NSHostingView goes the other way. Most serious Mac apps in 2026 are SwiftUI shells with AppKit where it counts.
Our rule of thumb: prototype in SwiftUI, and only reach for AppKit when you hit an actual wall, not a theoretical one.
How macOS Development Differs From iOS
Same language, same IDE, very different platform. Here’s what actually changes when you move from iPhone to Mac:
| Area | iOS | macOS |
|---|---|---|
| Windows | One full-screen scene (mostly) | Multiple resizable windows, tabs, panels, full window management |
| Menus | Context menus only | Persistent menu bar with expected standard menus (File, Edit, View…) |
| Input | Touch first | Mouse, trackpad and keyboard first; shortcuts are mandatory, not optional |
| Sandboxing | Always sandboxed, no exceptions | Required for App Store, optional for direct distribution |
| Distribution | App Store only (in most regions) | App Store, direct download, Homebrew, SetApp… your choice |
| Review process | App Review for everything | App Review only if you use the App Store; notarization otherwise |
| File access | Mostly hidden from users | Real file system, open/save panels, drag and drop everywhere |
| Revenue norms | Free with in-app purchases dominates | Paid up front and licenses still work; users expect trials |
The mindset shift is the big one. iOS users tap through focused, single-task flows. Mac users keep five windows open, expect keyboard shortcuts for everything, and will absolutely notice if Cmd+, doesn’t open your Settings. Respecting those conventions is most of what makes an app feel “Mac-like,” and Apple’s Human Interface Guidelines spell them out. We unpack the whole system, including what Liquid Glass changed across both platforms, in our Apple design system explainer.
Sandboxing, Notarization and Distribution
This is where macOS gets genuinely different, and honestly, better:
The App Sandbox
If you sell through the Mac App Store, your app must be sandboxed: it declares entitlements for what it needs (network, file access, camera) and gets nothing else. Distribute outside the store and sandboxing is optional, which is why powerful utilities (disk tools, window managers, automation apps) usually skip the App Store entirely.
Notarization
Distributing outside the App Store isn’t a free-for-all. You sign your app with a Developer ID certificate and upload it to Apple’s notarization service, which scans it for malware and staples a ticket to it. It’s automated, usually takes a few minutes, and without it Gatekeeper will block your app on users’ Macs. No human review, no waiting days, no rejection over business-model disagreements.
Your distribution options
- Mac App Store: easiest for users, handles payments and updates, costs you the commission (15% for most small developers) and requires sandboxing.
- Direct download: sell from your own site with Paddle or Lemon Squeezy, keep more margin, ship updates via Sparkle. More setup, more freedom.
- Both: plenty of apps do it, one sandboxed build for the store and one Developer ID build for the site.
Catalyst and “Designed for iPad” Apps
Two shortcuts exist for getting an iPhone/iPad app onto the Mac, and you should know what they actually buy you:
- Mac Catalyst recompiles your UIKit iPad app as a Mac app. It works, and some big apps have shipped with it, but in 2026 it’s clearly in maintenance mode. Apple’s energy is in SwiftUI, and Catalyst apps tend to feel slightly “off” on the Mac without serious extra work.
- “Designed for iPad” means your unmodified iPad app runs on Apple Silicon Macs, no porting at all. Zero effort, but it runs in a window pretending to be an iPad. Fine as a stopgap, not a Mac strategy.
If you’re starting fresh today, write SwiftUI targeting both platforms natively and skip Catalyst. You’ll share most of your code anyway and each platform gets a real interface.

Your Getting-Started Roadmap
- Learn Swift basics first. A week or two with Apple’s Swift tutorials or 100 Days of SwiftUI pays off fast.
- Build a toy iOS app before your Mac app. Counterintuitive, but iOS tutorials are far more plentiful and the SwiftUI knowledge transfers almost 1:1. Our walkthrough on how to develop an iOS app in 5 steps is a good starting point.
- Create a macOS SwiftUI project in Xcode and rebuild the same toy app. You’ll immediately hit the Mac-specific stuff: windows, menus, shortcuts.
- Add the Mac essentials: a proper menu bar, Cmd-key shortcuts, a Settings window, drag and drop, and sensible resizing behavior.
- Test with real people. TestFlight works for Mac apps too, and it’s the easiest way to get betas onto other people’s machines. We’ve documented the whole flow in our TestFlight beta testing walkthrough.
- Pick your distribution path, join the Developer Program, and ship.
For the bigger picture across both platforms, certificates, provisioning and App Store submission included, our complete Apple app development guide ties it all together.
What It Costs
- Xcode, Swift, SwiftUI, simulators: free.
- Running your own apps locally: free with any Apple ID.
- Apple Developer Program: $99/year (needed for App Store distribution, notarization, TestFlight and iCloud services).
- App Store commission: 15% if you’re under $1M/year via the Small Business Program, 30% above that.
- Direct sales: payment processors like Paddle take roughly 5%, and you’ll spend some setup time on licensing and updates.
Compared to almost any other software business, the barrier to entry is tiny. The real cost is your time.
FAQ
Can I develop Mac apps without knowing iOS development?
Absolutely. Swift and SwiftUI are the same on both platforms, so you can start straight on macOS. You’ll just find fewer tutorials, which is why many people learn the basics on iOS material first and then apply it to the Mac.
Do I need to pay Apple to make a Mac app?
Not to build one. Xcode is free and you can run your own apps on your own Mac forever without paying. The $99/year Developer Program only becomes necessary when you distribute to others, whether through the App Store or as a notarized download.
Is AppKit dead?
No, and it won’t be for years. Apple still maintains it, huge apps still depend on it, and SwiftUI itself sits on top of AppKit machinery on the Mac. But it’s in maintenance mode for new features, so new projects should default to SwiftUI and use AppKit selectively.
Can my Mac app and iOS app share code?
Yes, and that’s the modern Apple pitch. With SwiftUI and a multiplatform Xcode project, your models, networking and most views can be shared, with platform-specific tweaks layered on top. In our experience you can realistically share 70 to 90 percent of the codebase for a typical app.