iPhone Wedding Videography: Filming and Editing Tips That Actually Work
Yes, you can film a wedding on an iPhone. Here are the settings, audio, stabilization, and storage decisions that matter, plus how to edit the footage into a real wedding film on your Mac.
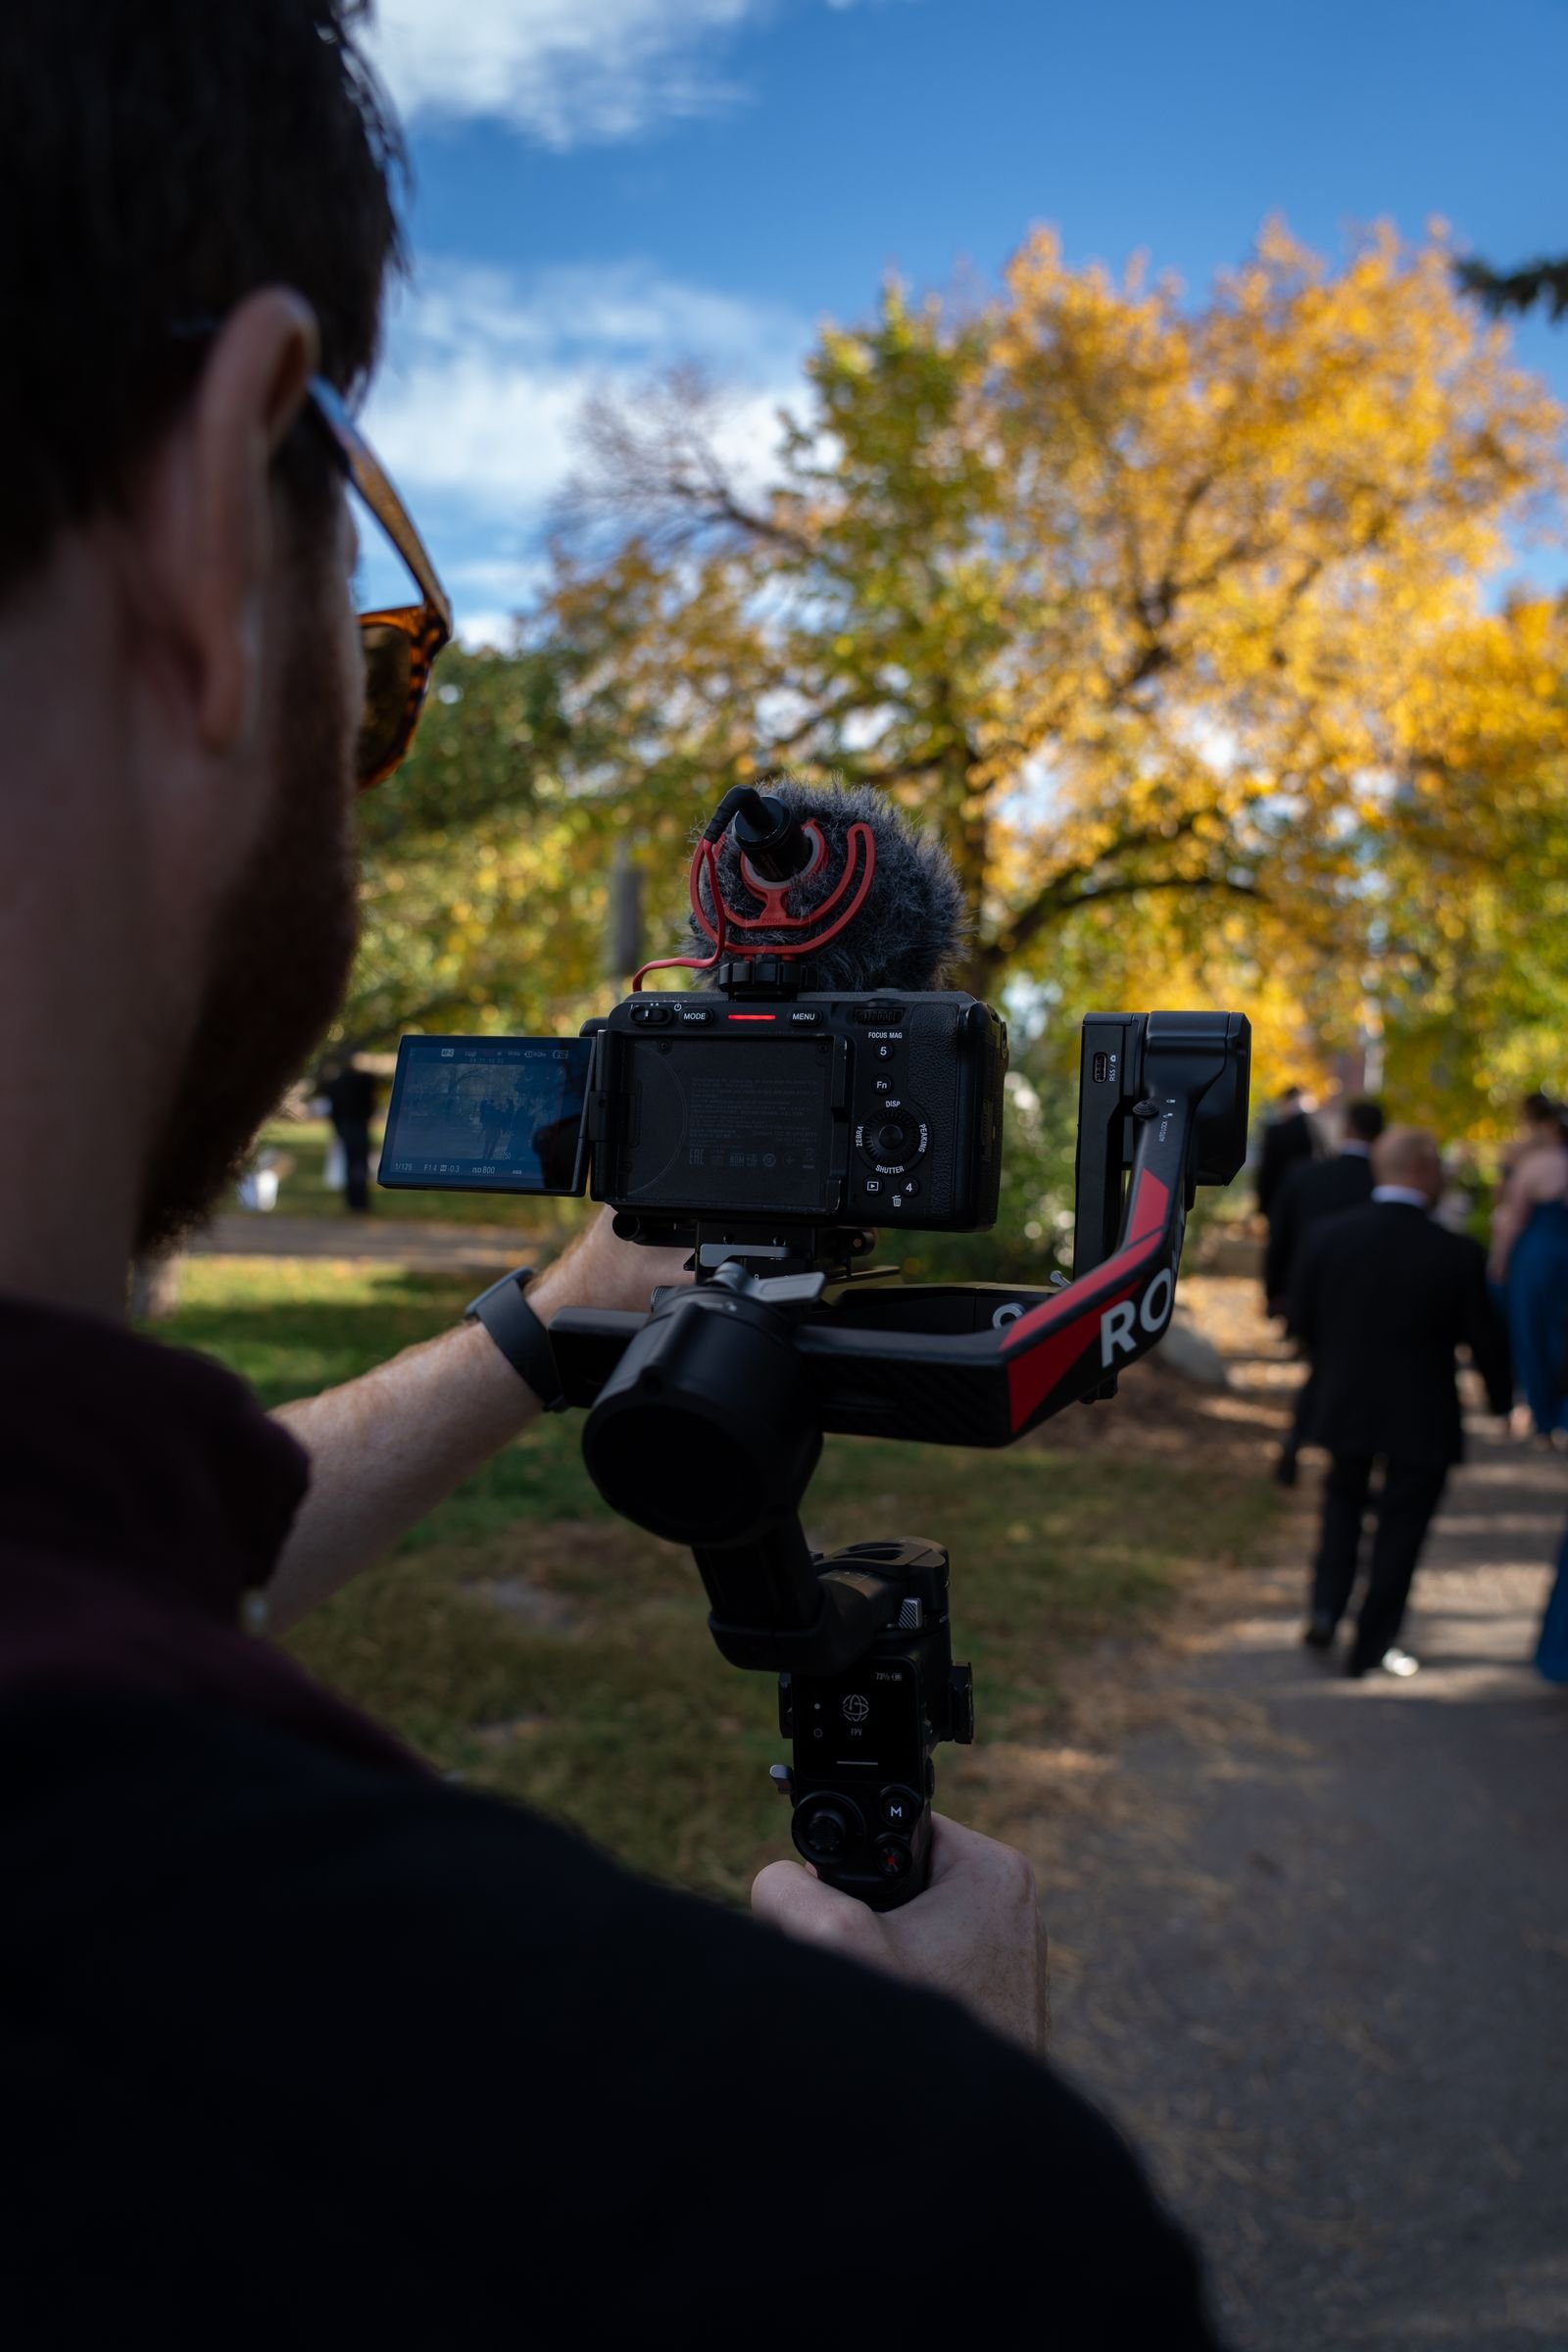
Can you actually film a wedding on an iPhone? Yes, and in 2026 the results can be genuinely beautiful. A recent iPhone shoots 4K footage with dynamic range that embarrasses camcorders from a few years ago, and we’ve filmed (and edited) real wedding footage this way, including a full friend-of-the-family wedding shot on an iPhone 15 Pro and 16 Pro pair. The catch is that the phone is the easy part. Audio, stabilization, storage, and restraint are what separate “wow” from “shaky vertical clips nobody rewatches”.
This guide covers the filming decisions that matter, the gear that’s actually worth carrying, and how to edit the footage afterwards. It’s the video companion to our guide on iPhone photography tips for weddings, so if you’re covering both photos and video, read the two together.
Settings: lock these in before the day
Decide your look before the ceremony, not during it. Here’s the short version:
- 4K at 24fps for the cinematic look. 24 frames per second is what films use, and it gives that gentle motion blur people read as “wedding film”. Set it in Settings, Camera, Record Video.
- 4K at 60fps if you want slow-motion options. Shooting 60 and slowing to 24 in the edit gives you gorgeous half-speed moments (confetti, first dance twirls). The trade-off is bigger files and a more “video-y” look if you don’t slow it down.
- Our recommendation: 24fps as your default, switch to 60fps for moments you know you’ll slow down. Mixing is fine as long as your timeline is 24fps.
- Lock exposure and focus for static shots. Press and hold on your subject to lock AE/AF so the image doesn’t pump when people move behind the couple.
- Turn on the grid, shoot horizontal, and clean your lens. Obvious, and yet the lens wipe is the single most skipped step in phone videography.
A reality check on Cinematic mode
Cinematic mode (the fake shallow depth-of-field one) looks fantastic in good light for slow, intimate moments: the walk down the aisle, ring close-ups, vows. But the edge detection still gets confused by veils, glasses, and fast movement, and in dim receptions it falls apart. Use it deliberately for a handful of shots, not as your default. Standard 4K with good composition beats glitchy artificial bokeh every time.
Audio is everything (seriously)
People will forgive slightly soft video. Nobody forgives vows they can’t hear. The iPhone’s built-in mics are fine for ambience and terrible at distance, so:
- Get a wireless lav setup. A DJI Mic or Rode Wireless kit with a transmitter clipped to the officiant (or tucked near the couple) transforms your ceremony audio. This is the best money you’ll spend, full stop.
- Record backup audio. A second phone in a pocket running a voice memo app, or a receiver plugged into a second device. Weddings are one-take events.
- At the reception, get close to the speakers for toasts, or grab a feed from the DJ if they’ll let you.
Stabilization: hands, gimbals, and tripods
The iPhone’s built-in stabilization handles gentle handheld work well, but a full day of footage lives or dies on smoothness:
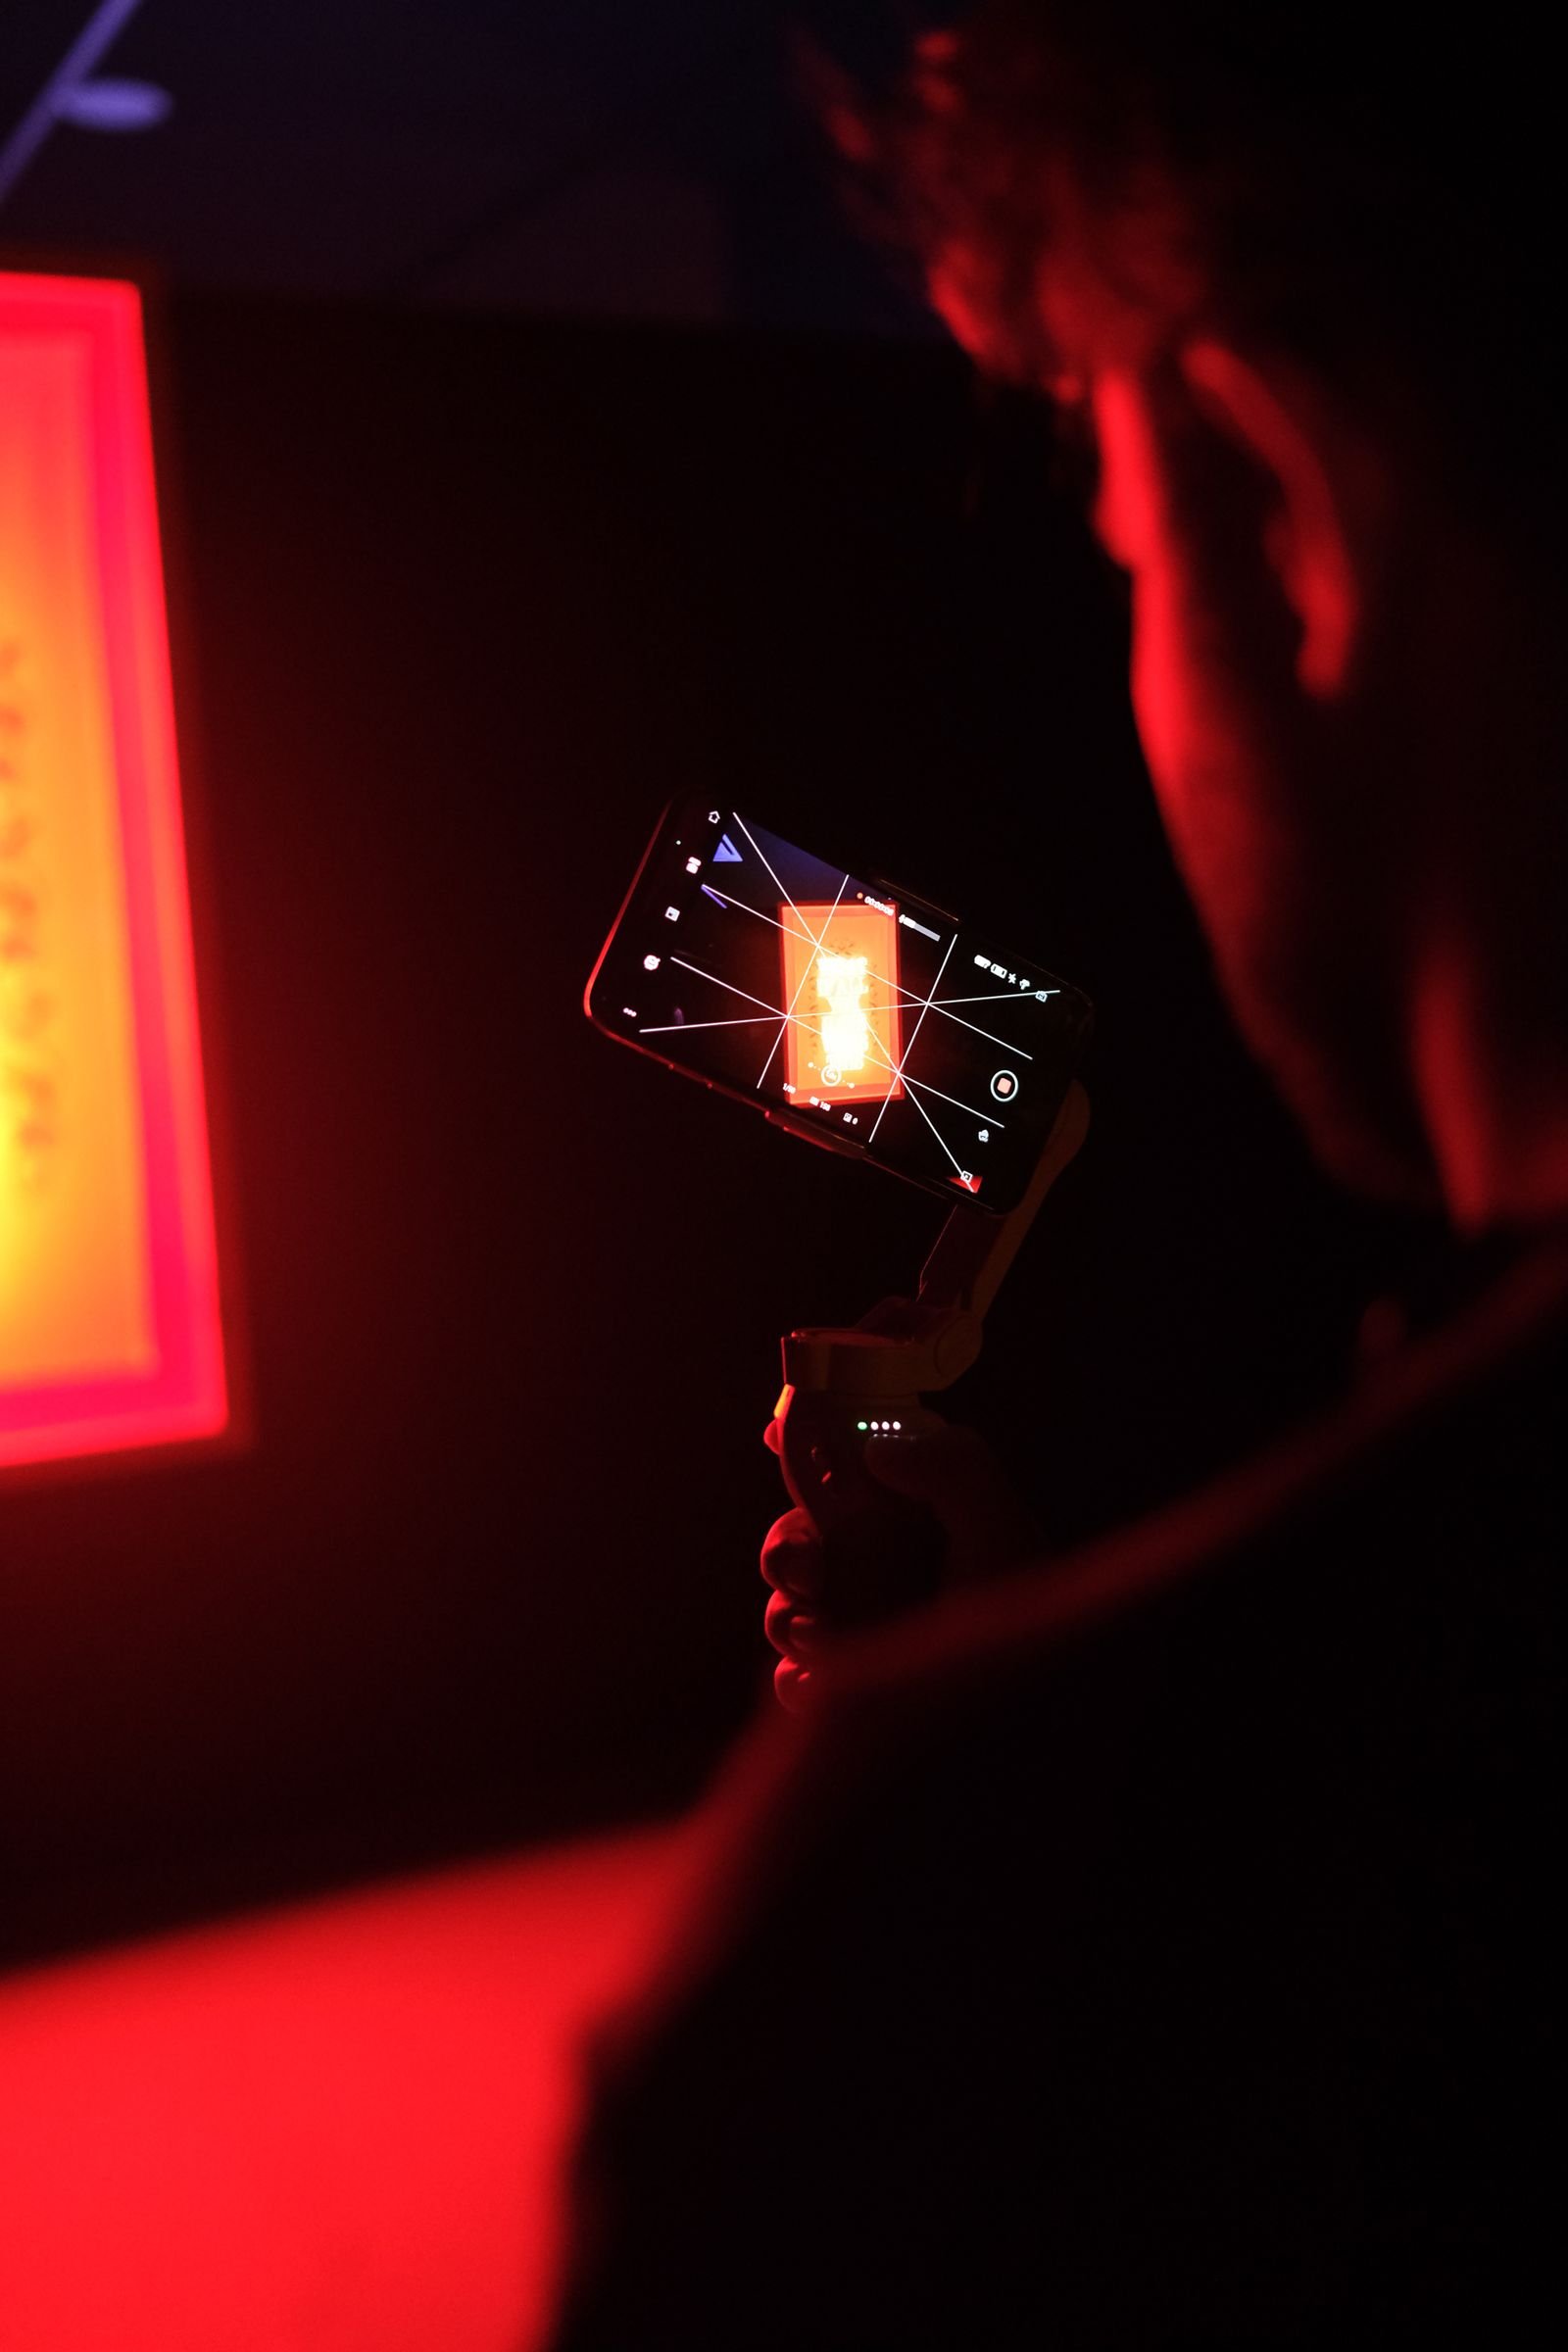
- A phone gimbal (DJI Osmo Mobile or similar) is worth it for walking shots, reveals, and dance floor coverage. Practice for a few hours before the wedding; a gimbal in untrained hands produces its own special brand of seasick footage.
- A small tripod is non-negotiable for the ceremony. Set one phone wide and locked off, then move with a second phone for close-ups. Locked-off shots also let you be a guest instead of a human tripod.
- No gear? Brace your elbows, move your feet slowly, and treat every movement like you’re carrying soup.
Storage: plan for a full day
4K eats space fast, and a “storage full” alert during the first dance is a nightmare you can fully prevent. Rough HEVC numbers to plan around:
| Recording setting | Approx. size per minute | One hour of footage |
|---|---|---|
| 4K at 24fps (HEVC) | roughly 150 MB | about 9 GB |
| 4K at 30fps (HEVC) | roughly 190 MB | about 11 GB |
| 4K at 60fps (HEVC) | roughly 440 MB | about 26 GB |
| ProRes 4K (Pro models) | several GB | not realistic for a full day internally |
In practice you’ll record maybe 60 to 120 minutes of usable material across a wedding day, so budget 20 to 50 GB free per phone before you leave home. Skip ProRes unless you’re recording to an external SSD; it’s overkill for this job. Offload clips to a laptop or SSD during dinner if you’re running tight.
Filming the day: a simple coverage plan
- Prep: details (dress, rings, invitations), short clips of getting ready. Use window light.
- Ceremony: one locked-off wide on a tripod, you roaming for the processional, vows, rings, and kiss. Low light in churches is where a Pro model’s larger main sensor earns its keep; stick to the main lens, avoid digital zoom, and don’t even think about the flash.
- Golden hour couple session: your slow-motion and Cinematic mode showcase. Ten minutes here often produces half the highlight film.
- Reception: entrances, toasts (audio!), first dance, and 60fps dance floor chaos. Embrace the DJ lighting rather than fighting it.
- Multi-phone coverage: if you can recruit a second phone-wielding friend, agree on angles beforehand. Two mediocre angles cut together look far more professional than one good one.
Etiquette: don’t be that person
If the couple hired a professional videographer or photographer, you’re the B-team. Stay out of the aisle, never shadow the pro’s shot, and keep your screen brightness down during the ceremony. The best guest footage is captured from your seat, not from the altar. And if you’re the designated (only) videographer, walk the venue with the couple beforehand and agree on where you’ll stand.
Editing: from camera roll to wedding film
You’ve got two sensible paths:
- The quick phone edit. For a highlight reel to share within days, editing on the phone in iMovie or CapCut is honestly fine. Trim, sequence, one music track, done.
- The proper Mac edit. For the real film (color consistency across two phones, synced lav audio, slowed 60fps shots on a 24fps timeline), you want a desktop editor. DaVinci Resolve is free and handles all of it; Final Cut Pro is the smoothest paid option. We compare every serious option in our guide to the best Mac video editing software, and if you’ve never edited before, start with our picks for the easiest video editing software for complete beginners.
Don’t worry about needing a monster machine either. Any Apple Silicon Mac cuts iPhone 4K comfortably; even a fanless laptop manages fine, as we found while testing the best video editing software for a MacBook Air. Keep the edit simple: 3 to 6 minutes, real audio from the day layered under music, and resist the urge to use every transition your editor offers. Cuts and the occasional cross-dissolve. That’s it.
FAQ
Is an iPhone good enough to film a whole wedding?
For a personal film, a second angle, or a budget-conscious couple, absolutely. A recent iPhone with a lav mic, a gimbal, and a tripod produces footage most guests can’t distinguish from pro work in good light. Where pros still clearly win: low-light ceremonies, long lenses from the back of a venue, and the safety net of experience.
Should I film in 24fps or 60fps for a wedding?
Default to 4K 24fps for the filmic look, and flip to 4K 60fps for moments you plan to slow down (first dance, confetti, exits). Edit everything on a 24fps timeline.
How much storage do I need to film a wedding on iPhone?
Plan for 20 to 50 GB of free space per phone. At 4K 24fps you’ll use roughly 9 GB per hour of recorded footage, and roughly triple that at 60fps. Clear space the night before and offload during quiet moments.
Do I need Cinematic mode for wedding video?
No. It’s a garnish, not the meal. Use it in good light for a few slow, intimate shots where the background blur adds emotion, and shoot standard 4K for everything else.